
Note
Click here to download the full example code
Deploy to the Cloud#
Prerequisites#
Make sure you have Docker and Docker Daemon is running.
Note
Being connected to a VPN may cause problems downloading the image.
Setup and Configuration#
First, install flytectl.
Then you can setup a local Flyte Sandbox cluster or configure flytectl to use a
pre-provisioned remote Flyte cluster.
Tip
Learn how to deploy to a Flyte Cluster using the Deployment Guides.
To start the Flyte Sandbox, run:
flytectl sandbox start --source .
Note
The '.' represents the current directory, which would be my_flyte_project in this case.
If you’re having trouble with starting the sandbox cluster, refer to Troubleshooting Guide.
Setup flytectl remote cluster config
flytectl config init --host={FLYTEADMIN_URL} --storage
Where {FLYTEADMIN_URL} is your custom url.
Build & Deploy Your Application to the Cluster#
Flyte uses Docker containers to package the workflows and tasks, and sends them to the remote Flyte cluster. Therefore,
there is a Dockerfile already included in the cloned repo. You can build the Docker container and push the built
image to a registry.
Since flyte-sandbox runs locally in a Docker container, you do not need to push the Docker image. You can
combine the build and push step by simply building the image inside the Flyte-sandbox container. This can be done
using the following command:
flytectl sandbox exec -- docker build . --tag "my_flyte_project:v1"
Tip
Why are we not pushing the Docker image? To understand the details, refer to deployment-sandbox.
If you are using a remote Flyte cluster, then you need to build your container and push it to a registry that is accessible by the Flyte Kubernetes cluster.
docker build . --tag <registry/repo:version>
docker push <registry/repo:version>
Tip
Recommended
The flytekit-python-template ships with a helper script called docker_build_and_tag.sh , which makes it
possible to build and image, tag it correctly and optionally use the git-SHA as the version. We recommend using
such a script to track versions more effectively and using a CI/CD pipeline to deploy your code.
./docker_build_and_tag.sh -r <registry> -a <repo> [-v <version>]
Next, package the workflow using the pyflyte cli bundled with Flytekit and upload it to the Flyte backend. Note that
the image is the same as the one built in the previous step.
pyflyte --pkgs flyte.workflows package --image "my_flyte_project:v1"
pyflyte --pkgs flyte.workflows package --image <registry/repo:version>
Upload this package to the Flyte backend. We refer to this as registration. The version here v1 does not have to
match the version used in the commands above, but it is generally recommended to match the versions to make it easier to
track.
Note
Note that we are simply using an existing project flytesnacks and an existing domain development to register
the workflows and tasks. It is possible to create your own project
and configure domains. Refer to Control Plane to understand projects and domains.
flytectl register files --project flytesnacks --domain development --archive flyte-package.tgz --version v1
Finally, visualize the registered workflow.
flytectl get workflows --project flytesnacks --domain development flyte.workflows.example.my_wf --version v1 -o doturl
Execute on the Flyte Cluster#
Launch and monitor from the CLI using Flytectl. More details can be found here.
Generate an execution spec file.
flytectl get launchplan --project flytesnacks --domain development flyte.workflows.example.my_wf --latest --execFile exec_spec.yaml
Create an execution using the exec spec file.
flytectl create execution --project flytesnacks --domain development --execFile exec_spec.yaml
You should see an output that looks like:
execution identifier project:"flytesnacks" domain:"development" name:"<execution_name>"
Monitor the execution by providing the execution name from the create execution command.
flytectl get execution --project flytesnacks --domain development <execution_name>
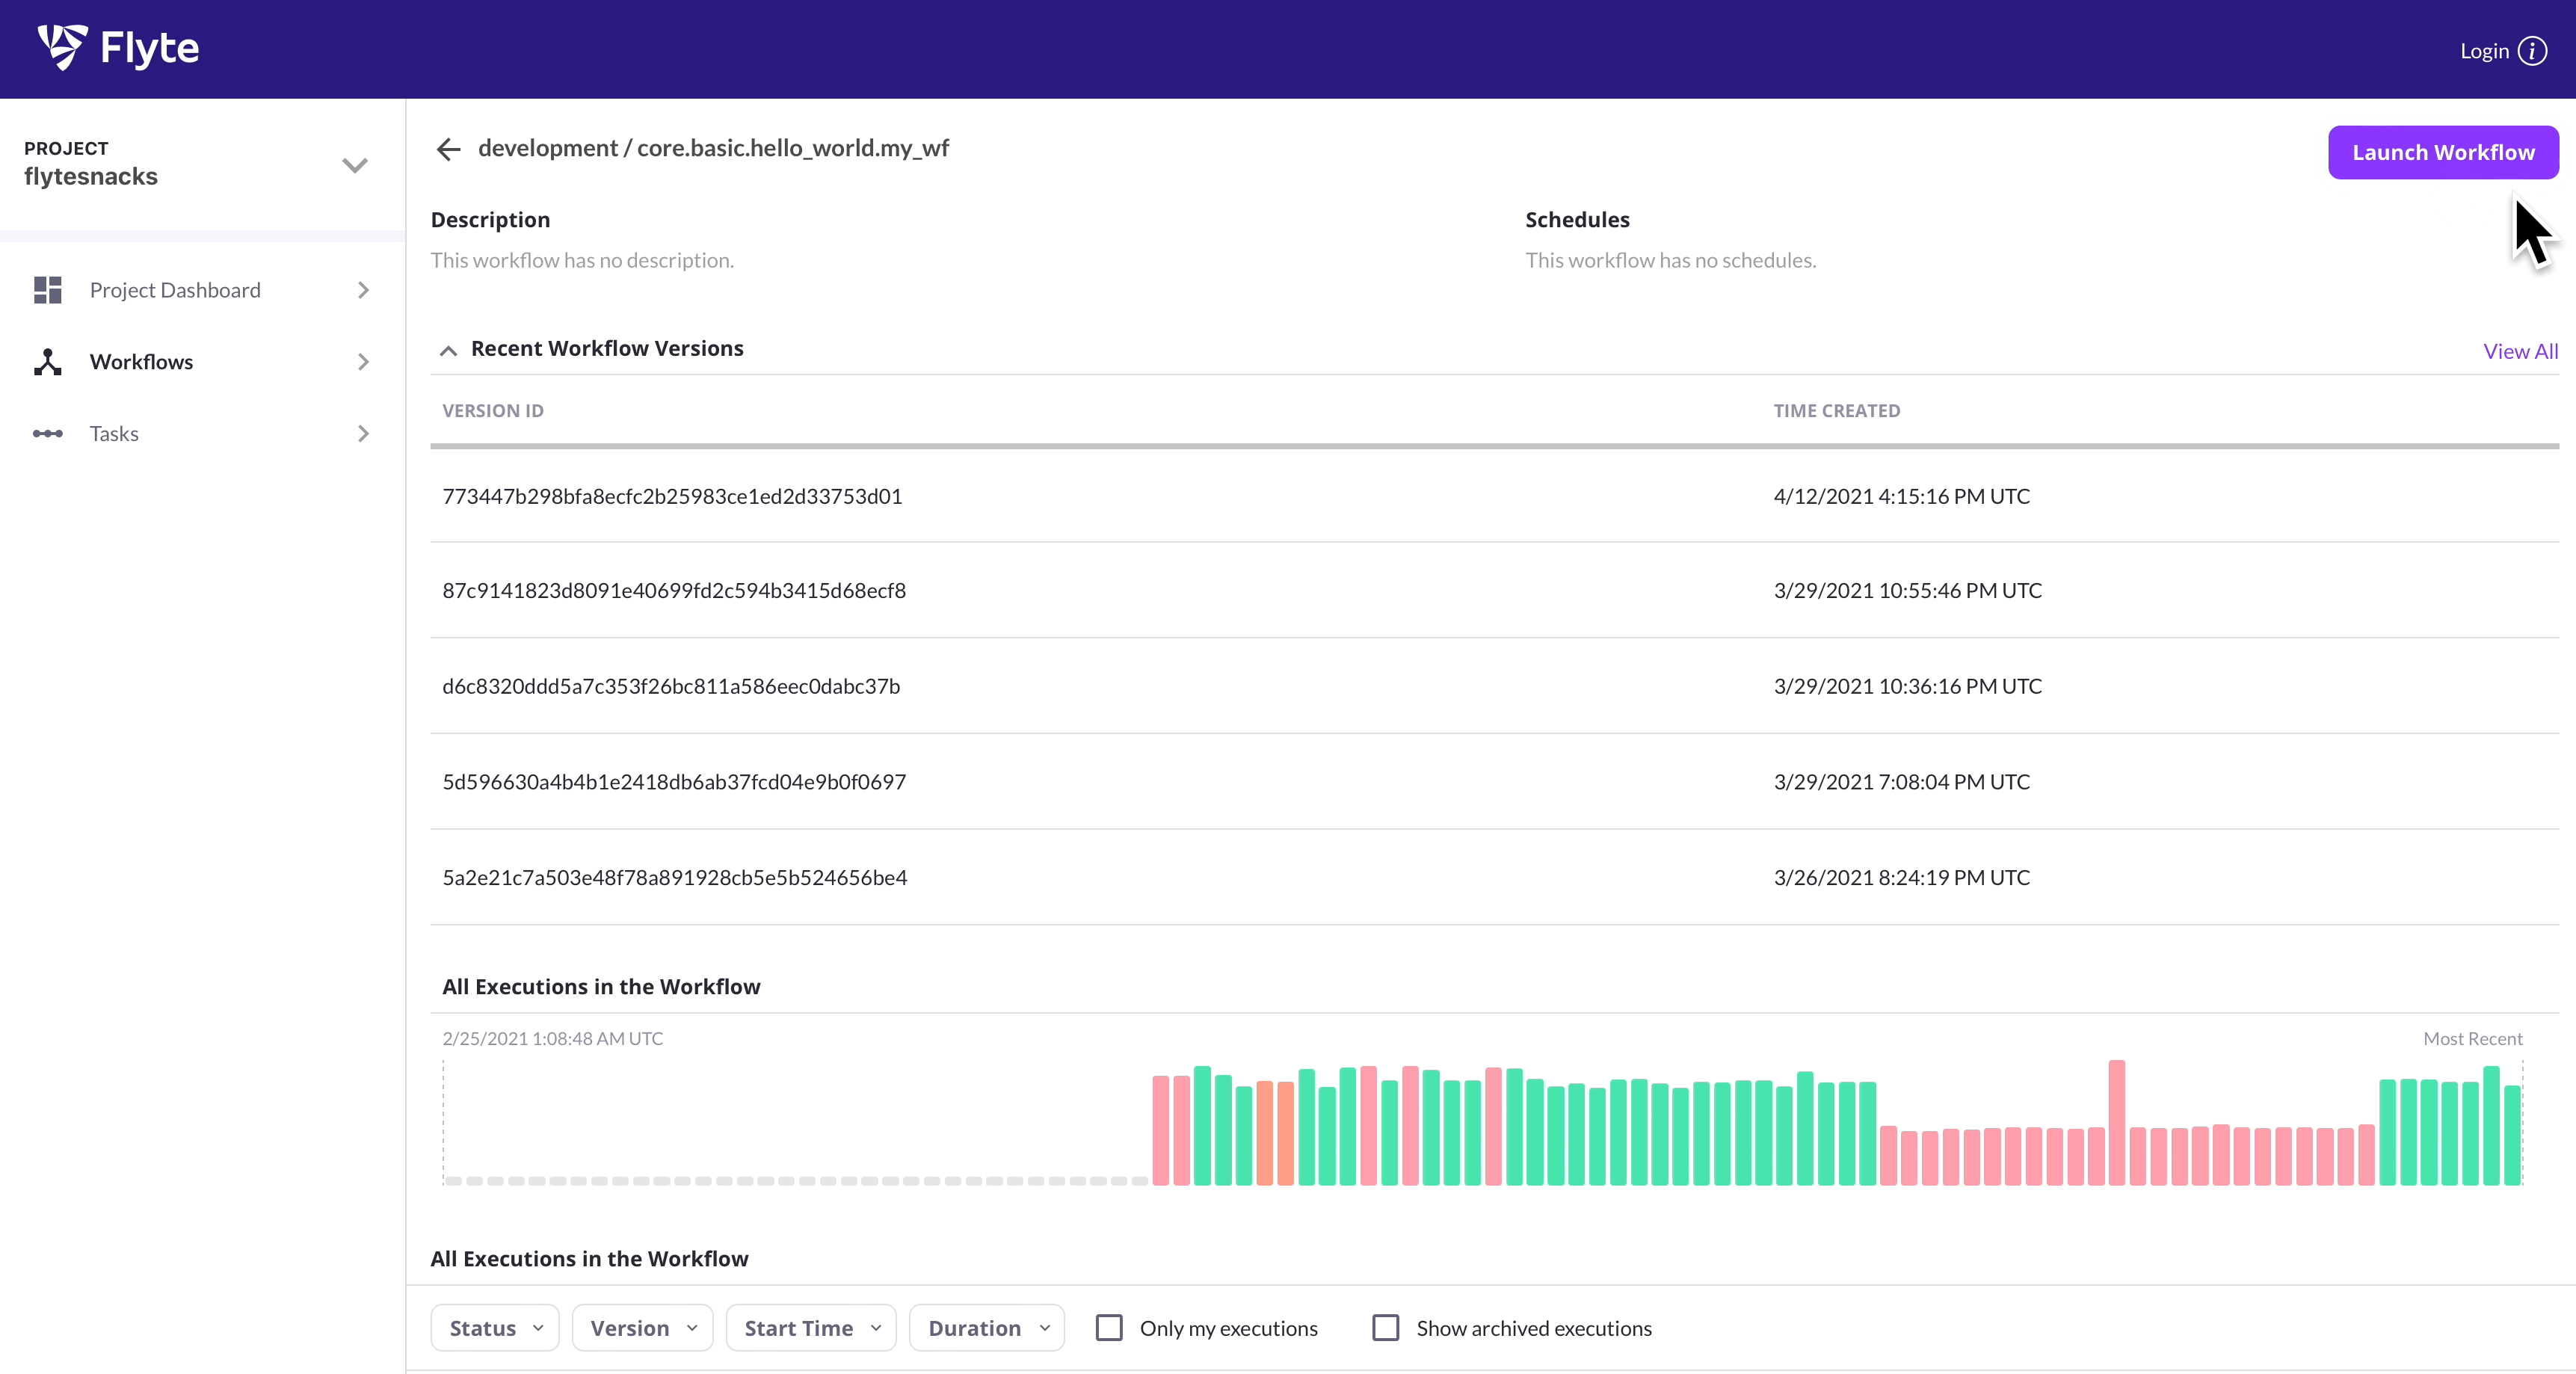
Alternatively, you can FlyteConsole to launch an execution.
Visit http://localhost:30081 on your browser
Visit {FLYTEADMIN_URL}/console on your browser
Then use the FlyteConsole to launch an execution:
Conclusion#
We’ve successfully packaged your workflow and tasks and pushed them to a Flyte cluster! 🎉 Next, let’s learn how to iterate on and re-deploy our Flyte app.
Total running time of the script: ( 0 minutes 0.000 seconds)